

MachineBuilder
Video Tutorials

04 - Importing-exporting parts & designs

05 - Creating custom panels

06 - Using configuration assistant

07 - Designing with light-duty extrusions

08 - Conducting a robot reach study

09 - Designing a belt conveyor

10 - Designing a gantry robot

20 - 3D Navigation in MachineBuilder

21 - Inserting Components in MachineBuilder

22 - Snapping Increment

23 - Selecting Multiple Components in MachineBuilder

24 - Resizing Extrusions in MachineBuilder

25 - Changing Navigation Controls in MachineBuilder

26 - Using Measurement Tools in MachineBuilder

27 - Connecting and Disconnecting Parts in Machine Builder

40 - Designing a Workstation

41 - Designing with a Modular Conveyor Ecosystem

99 - Getting started with MachineBuilder
Guides
MachineBuilder FAQs
Navigate to Designs in the side menu of your dashboard. Click the Edit menu or icon on the far right.
In the list of options, choose Edit Properties. When the pop-up appears, click on the Privacy tab and change Privacy to public.
Alternatively, open your design in MachineBuilder and click the Share button located top right of the toolbar and click on Share with community . Follow the step-by-step instructions to publish.
Note that to publish, your design must have a complete title, description and thumbnail image.
Vention MachineBuilder does not provides 2D assembly drawings because they aren’t necessary in the context of Vention assemblies. All components are standard and modular to Vention’s library, so no custom manufacturing is needed for these components.
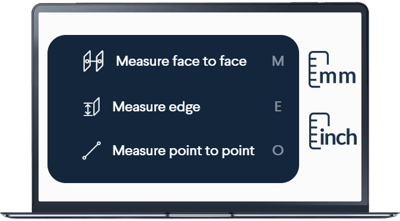
Alternatively, all measurements you take in MachineBuilder will remain displayed until you delete them. This allows you to take screen captures of the front, top, side and isometric views with the important dimensions required for your installation plan.
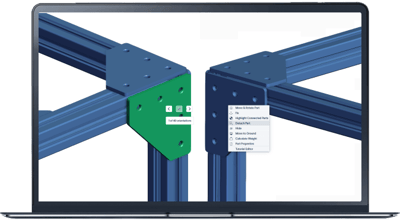
During assembly, you can use MachineBuilder’s annotation feature to highlight part numbers and learn which part goes where. Since all of Vention’s physical parts have laser-engraved part numbers on them, the assembly steps can be completed without drawings. (You can also find 2D drawings of every Vention part on our website.)
Lastly, note that the T-nut fasteners we use prevent any assembly step dependencies. Regardless of where you start assembling your design—from the right, left, top, or bottom—you will always be able to put together your entire machine in any sequence.
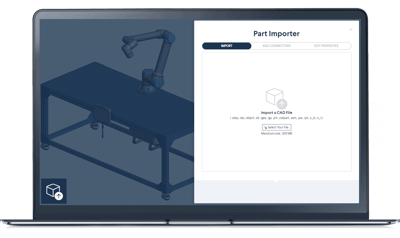
Yes, you can import 3D files into MachineBuilder for all common CAD file formats, including SolidWorks, Catia, PTC Creo, Inventor, and more.
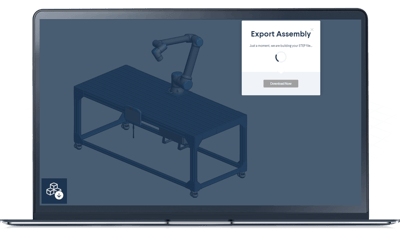
Note that you can also export your model as a STEP file. The STEP files produced by MachineBuilder 3D are especially user-friendly because each part is stored as an individual body within the STEP file, and all part numbers are preserved.


