Getting Started with MachineCloud
Overview
Vention now offers MachineCloud, giving you the ability to deploy from the cloud to your factory floor in minutes. With this, you can make each machine deployment successful, with software-assisted, step-by-step deployment derived from your digital twin. This document explains the steps necessary to set up and get started with MachineCloud.
Requirements
In order to configure your hardware and wiring and deploy your MachineLogic program remotely with MachineCloud, you’ll need:
- MachineMotion v2.7
We do not currently support:
- Configuration for Multi-controllers setups
First-time setup
1. Hardware setup
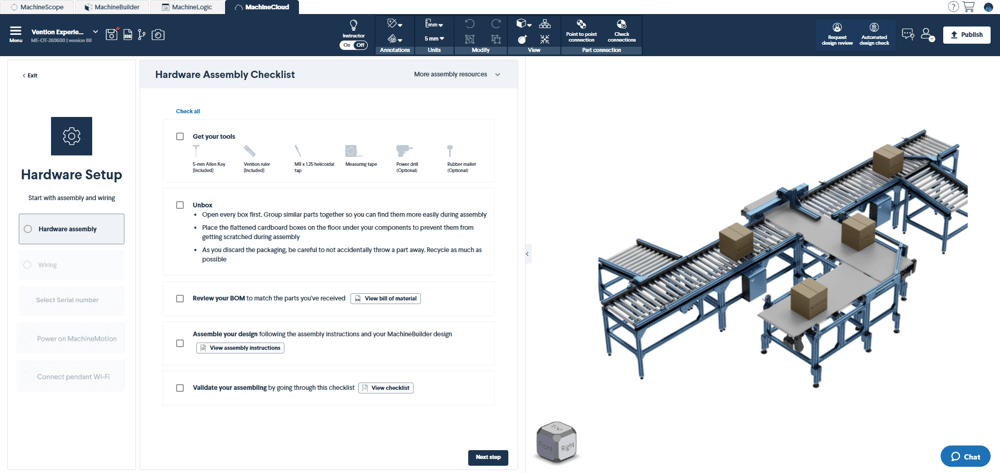
1.1. Hardware Assembly
As a MachineCloud subscriber, the first step you’ll go through when receiving your Vention machine is the Hardware Assembly. It’s a simple checklist that will help you in assembling your Vention machine. The checklist contains the following elements, in this order:
- Get your tools: A list of all the tools you’ll need to assemble your hardware
- Unbox: Simple instructions to facilitate the unboxing of your hardware
- Serial number: Note down the serial number for a later step
- Bill of materials: A static PDF of your bill of materials that you should consult to ensure you’ve received all the right parts to your hardware
- Design assembly instructions: A guide to help you assemble your hardware
- Mechanical checklist: A checklist to ensure you’ve assembled your hardware correctly
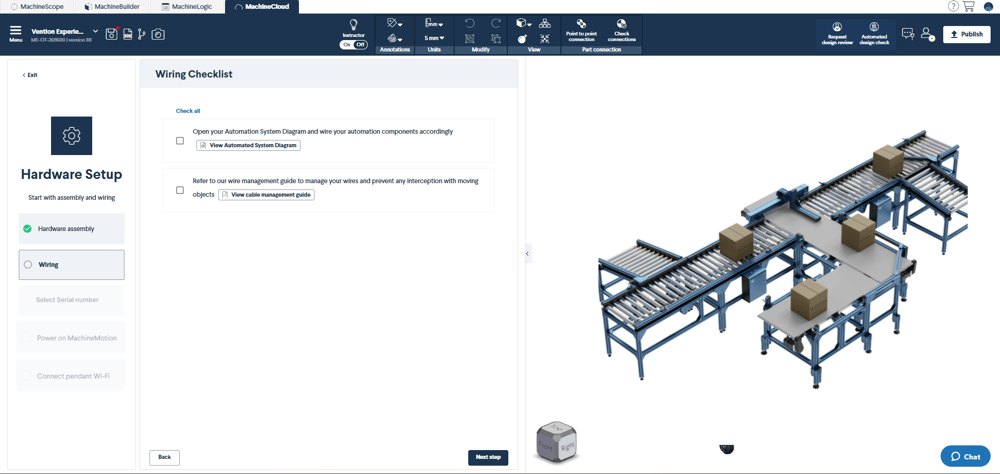
1.2. Wiring checklist
The second step you’ll need to complete in MachineCloud is the wiring of your machine. Again, you’ll see a simple checklist in MachineCloud that will need to be completed. Here are the steps:
- Group your automation components together
- Wire and connect your components: A clickable document will give you information on how to wire and connect your components
- Light curtains: A setup guide gives you information on how to set up your light curtains
- Safety module: The last step of the wiring checklist presents you with a document that you’ll use to set up the safety module in your design
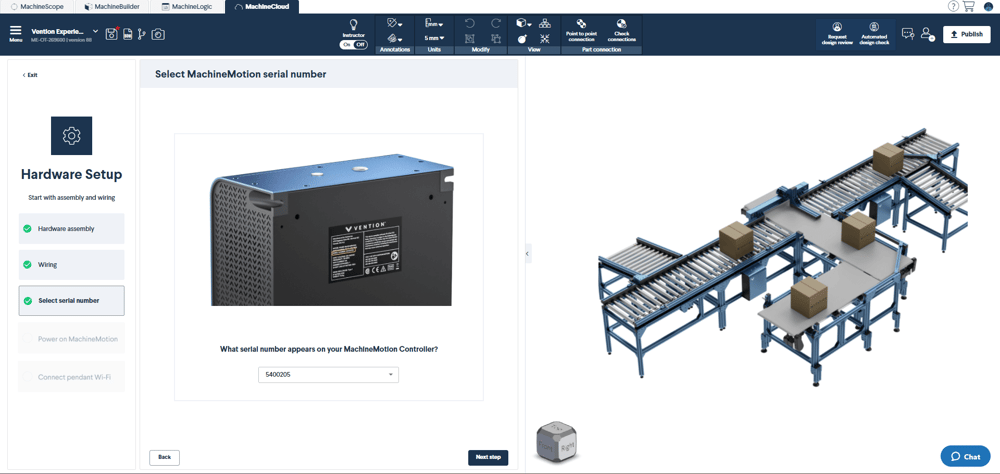
1.3. Pairing your MachineMotion to your MachineCloud
At the time of purchase, your MachineMotion controller is linked to your specific design through its serial number.
The third step is therefore to pair your MachineMotion to your MachineCloud. In order to do this, you’ll have to go to your MachineMotion Controller, find the serial number on the back side of it, and select it from the dropdown menu in MachineCloud.
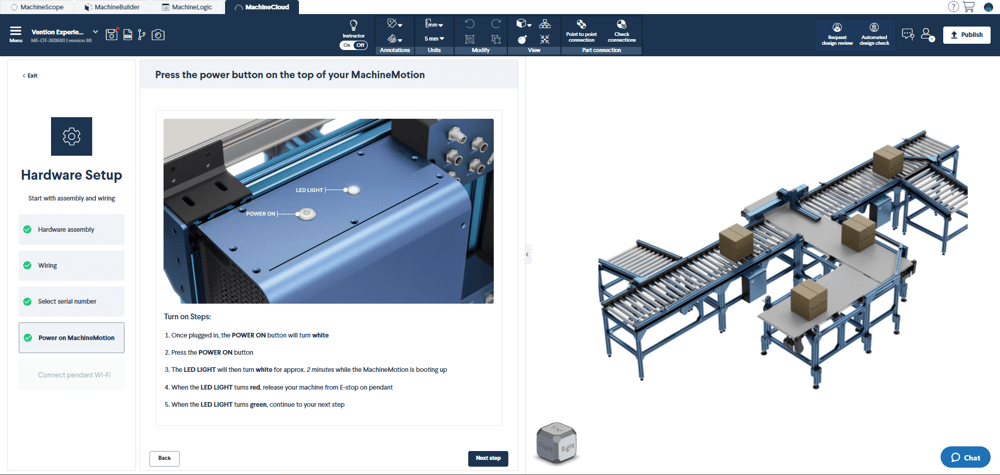
1.4. Turn on your MachineMotion
Next up, you’ll be presented with instructions on how to power on your MachineMotion controller. Follow the 5 easy steps to complete this part of the setup.
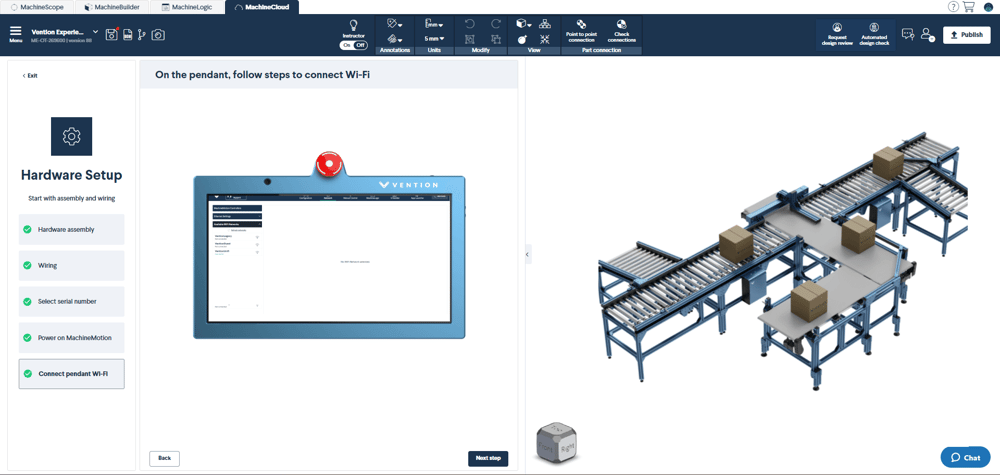
1.5. Connect pendant Wi-Fi
When you get to step 5, you’ll be prompted to go to your pendant and connect to Wi-Fi. To learn more about the startup process of MachineMotion v2, please read the MachineMotion 2 User Manual - v2.7.0 or Newer. Once the sync to MachineCloud is successful, ensure you enable Remote Access.
2. Software setup
2.1. Establishing Connection to MachineMotion from MachineLogic
- In your web browser, go to the MachineLogic tab.
- Connect to your MachineMotion from the dropdown menu. The serial number displayed should match the one on the back of your MachineMotion.

The state of your MachineMotion will be displayed in the dropdown menu. The following table describes each possible state:
| State | Description |
|---|---|
| Offline | The machine is currently offline. Ensure the MachineMotion is plugged in and connected to the internet. |
| Idle | The machine is not running any program and is ready for deployments. |
| Running | The machine is currently running an application and cannot accept new deployments. |
| E-Stop | The machine is currently in Emergency Stop mode. |
2.2. Deploying System Configuration and Applications
Once connected to your machine, you can deploy applications and configurations. The types of data that can be deployed via this service are:
| Payload Type | Description |
|---|---|
| Configuration | Represents your machine configuration as defined in the Configuration tab of MachineLogic. |
| Design-Level Scene Assets | These are scene assets defined in your applications. Application-level assets are contained within the application itself. |
| Code-Free Apps | Applications created using the Code-Free editor. |
| Python Apps | Applications created using the Python editor. |
- Click the Deploy button to open the deployment selection menu.
- From the dropdown menu, select the items you wish to deploy.
- After making your selections, click the Deploy button at the bottom.

3. Ready to operate
Now that your program is deployed to your machine, you’re ready to operate. Here are the steps you’ll need to take in order to run your new application on your physical machine.
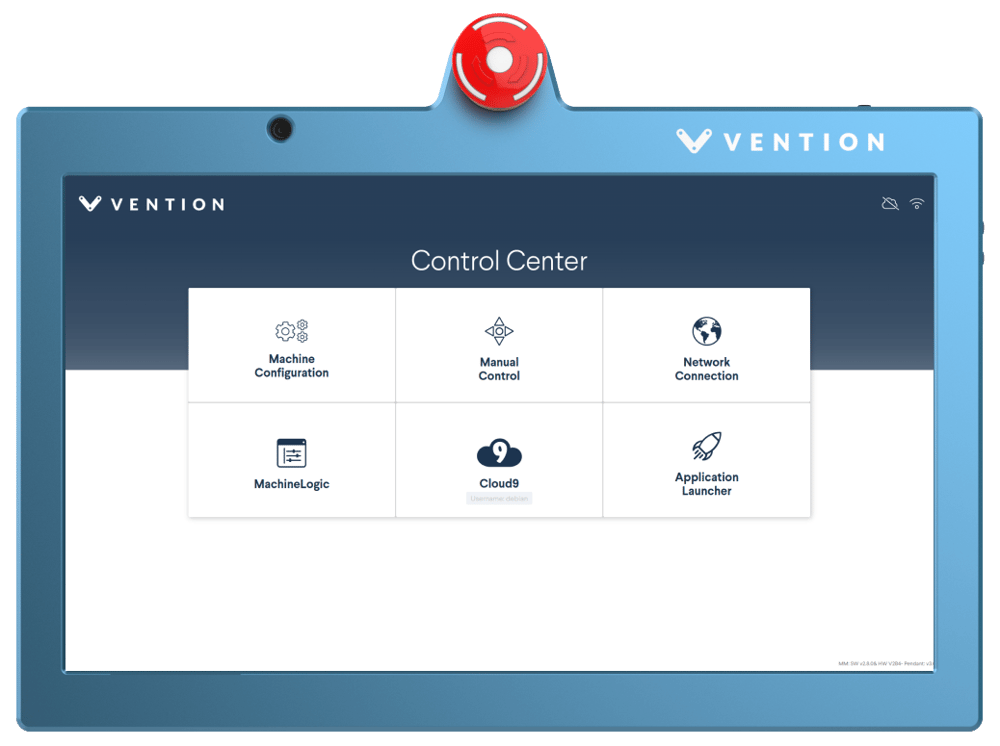
- Head over to your pendant and click “Application launcher”
- Select the application you would like to operate from the menu
- Click “Run” – and voilà! You’ve successfully deployed your application remotely, and your program is now running on your machine.