Whether you’re considering your first industrial automation project, or simply looking for a refresher, this guide will help you make the most of your project roll-out. The tools referenced in this post are what most system integrators use. They’re a methodical way to track what needs to be prioritized, what specs the machine needs to meet, and how closely these are met by the end result.
The theme of this entire readiness plan is to structure and quantify as much information as possible, and to itemize everything—either as a pass/fail or to-do list item—on checklists.
This guide complements a previous article: Getting started with industrial automation.
1. Project Scope
After you’ve selected a production line process to automate, we recommend creating a project scope (or scope of work) as your first document. This document should:
- Outline the general project details (like location, line, and stakeholders and planning details (like timeline and budget).
- Describe the current manufacturing process and performance (including the steps, raw materials, part tolerance, production rate, and part weight)
- Define the desired automated manufacturing process and performance (such as footprint, production rate, and interfacing requirements).
It’s important to quantify as much as possible. Be sure to refer to other types of files, such as images, videos, and 3D models. One common pitfall is forgetting to define critical assumptions. Get as many assumptions as possible down on paper, to ensure that all stakeholders are aligned and avoid surprises at commissioning.
Another pitfall is describing the existing process in vague, qualitative terms. Although a process might be hard to quantify, you can always break it down into a step-by-step sequence. If you can’t break your process down, that’s a sign that some area is not well understood (and needs further investigation), or the process is not a good candidate for automation.
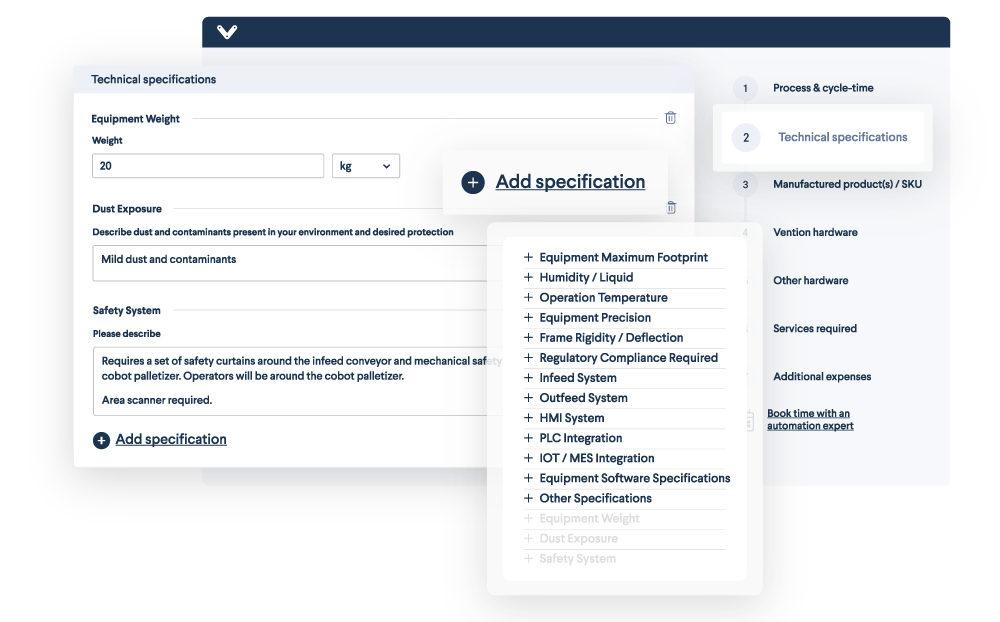
Vention’s MachineScope is an intuitive tool with a pre-built framework for defining project scope. It lets you define project milestones, upload relevant documents, and even link to Vention designs. Plus, it’s collaborative, so all stakeholders can access it digitally from anywhere.
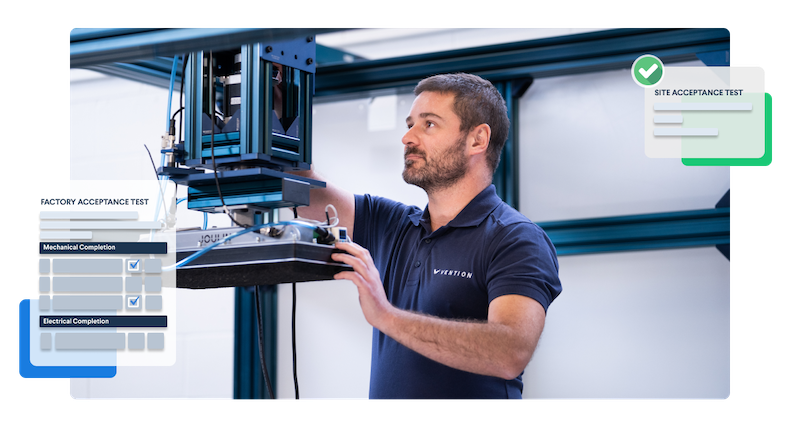
2. FAT checklist
The factory acceptance test (FAT) checklist summarizes the project scope, but it focuses on machine performance. Use this checklist before the machine is installed in its final location on the production floor (while the machine is still at the “factory” where it was created). During the FAT, each list item is marked Accepted/Not Accepted with initials, date, and relevant comments. Make sure you add comments. People often mark something as “Accepted” even though it’s only conditionally accepted. Perhaps acceptance depends on some other minor modification, which still needs to be made—in which case, note that down!
As always, you must quantify machine performance whenever possible. During the FAT, we recommend running the machine with all the products it will be fed during actual production. If that is not practical, run it with a representative sampling of the “worst-case” or max./min. product types (based on weight, dimensions, etc.)
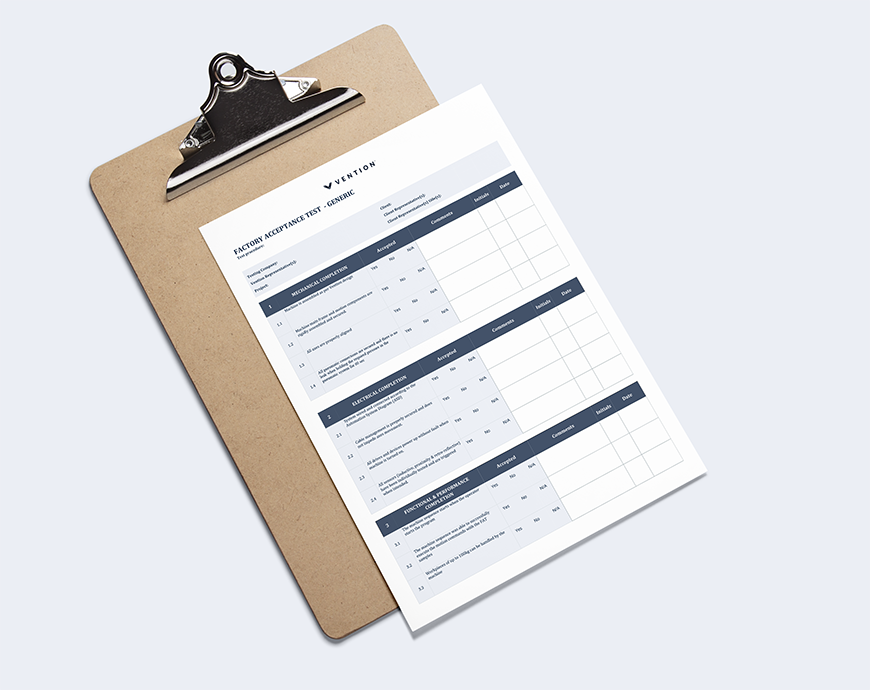
At Vention, we’ve made available to our users a FAT Checklist template free of charge (avaliable here), to help you start your project faster. Vention’s FAT checklist template is divided into three main completion categories: mechanical; electrical; and functional and performance. The first two categories cover basic assembly and wiring requirements, whereas the latter focuses on the machine’s capabilities.
3. Site readiness checklist
Site readiness checklists are a simple yet important step in the commissioning process. They make sure that when the installation team arrives on-site, everything is ready for the machine to be dropped into production. While it’s common to fulfill certain requirements “just in time,” we recommend completing as much as possible ahead of time. That way, the installation team is not left waiting (such as for an air or power supply), which can be costly in terms of both the additional on-site hours and extra production downtime.
Key items in the site readiness checklist include:
- Is compressed air available at the installation facility?
- Who are the main contacts available during the machine commissioning?
- What equipment is provided in the working area?
- What is the general schedule of the facility?
4. SAT checklist
The site acceptance test (SAT) checklist is a close cousin to the FAT checklist and often includes several of the same validation items. After the machine has passed the FAT, use the SAT to validate the system installation on the production line.
You will typically have to sign off on:
- Integrations with other equipment on the line.
- The final wiring and assembly.
- A machine test run for a full (or half) production shift.
- A safety risk assessment.
- Operator training.
At Vention, we’ve made a free SAT Checklist template available to our users, to help you start your project faster.
Additional information
If you have these four documents ready, or at least partly ready, before your project start date, you’re well on your way to successfully deploying your first industrial automation project.
To learn more about preparing for your first automation project, check out these Vention resources.
| MachineScope | vention.io/scope-of-work |
|---|---|
| FAT checklist | vention.io/tools/checklists/fats |
| SAT checklist | vention.io/tools/checklists/sat |
| Support | vention.io/services#technical-support |
